

 2320
2320
After logging into a Schreiner.edu account for the first time, you will be met with this screen. Click 'Next'.

![]()
You will now need to download the Microsoft Authenticator app on your device.
For Apple/iOS devices, download the Microsoft Authenticator app here: Microsoft Authenticator on the App Store
For Android devices, download the Microsoft Authenticator app here: Microsoft Authenticator - Apps on Google Play
![]()
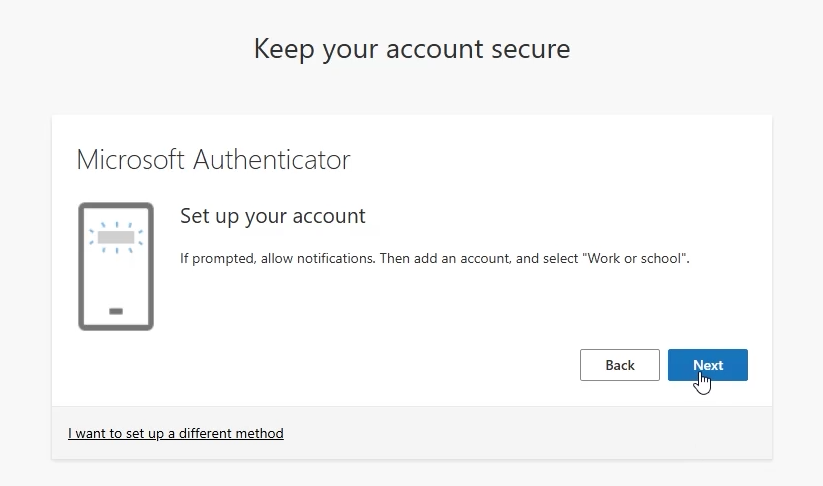
Once the Microsoft authenticator app is installed, open it and follow the steps in the image above. Press 'Scan a QR code' as seen in the image below. Click ‘Next’.
![]()
Scan the QR code on your computer screen through the Authenticator app. After the QR code successfully scans, click 'Next'.

![]()
You will now be prompted to test your authenticator. Enter the code on your screen into the box on your Authenticator app.
![]()
Your Schreiner.edu account will now be added to your Microsoft Authenticator. Click 'Done' to finish the process.

